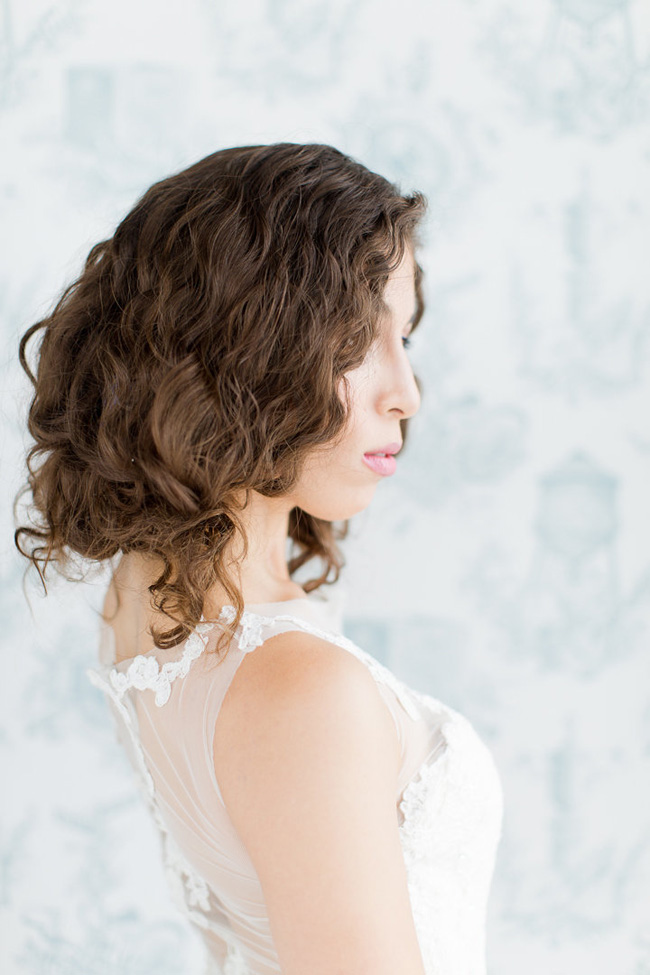
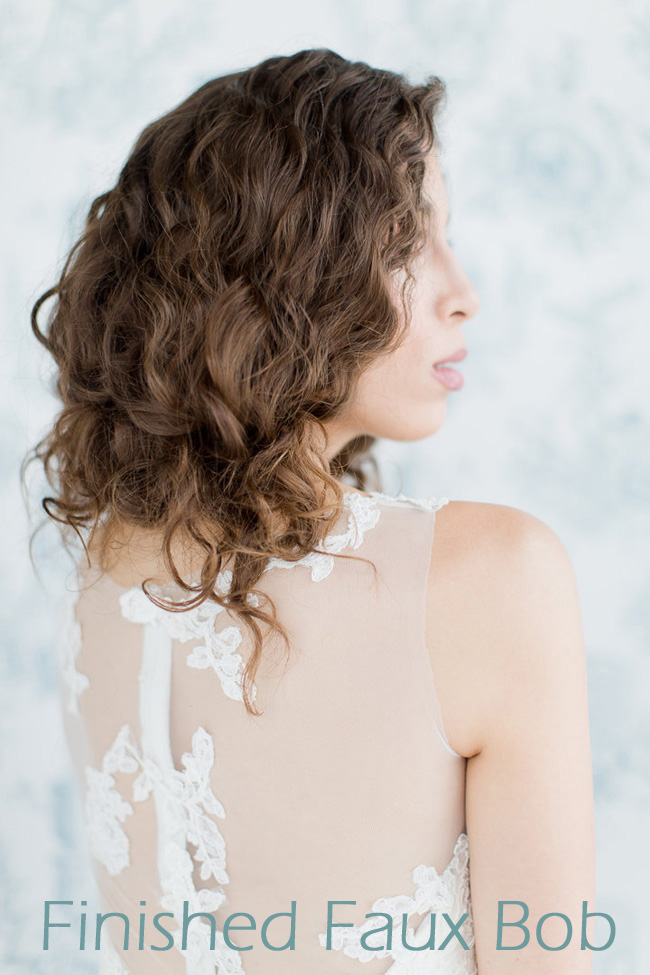
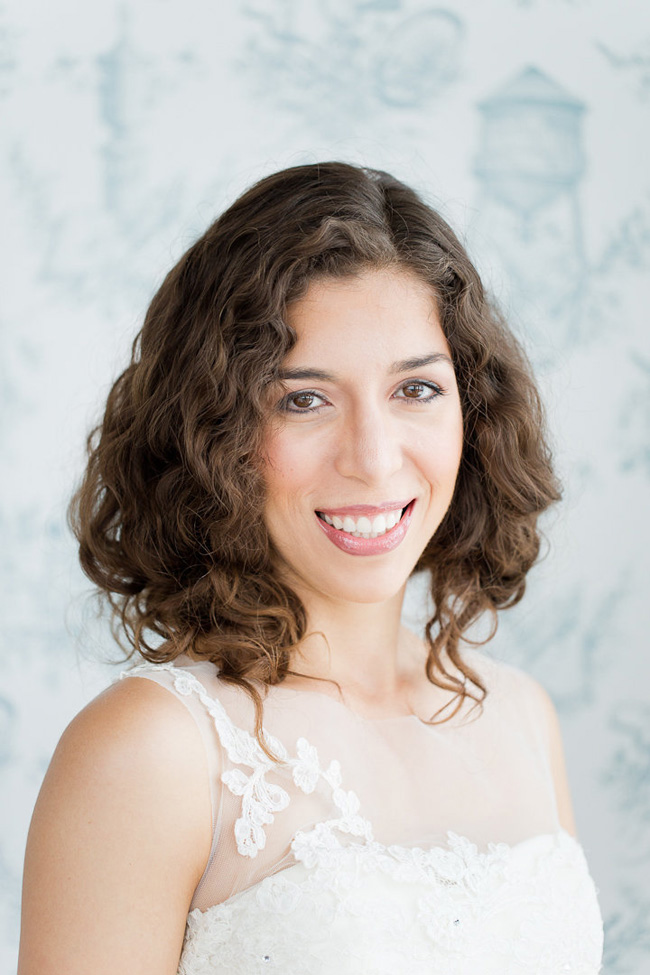
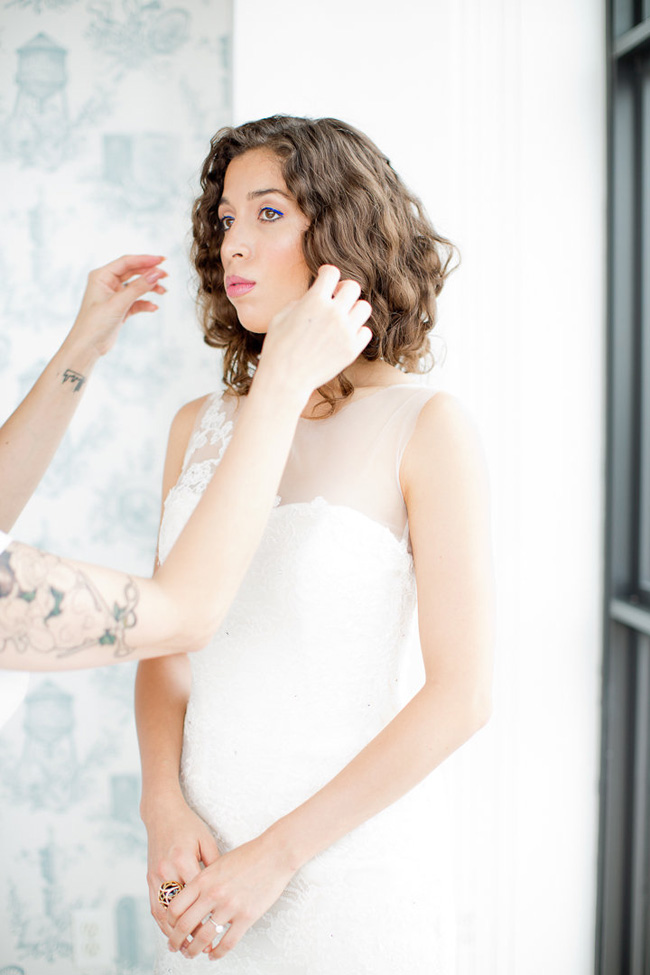
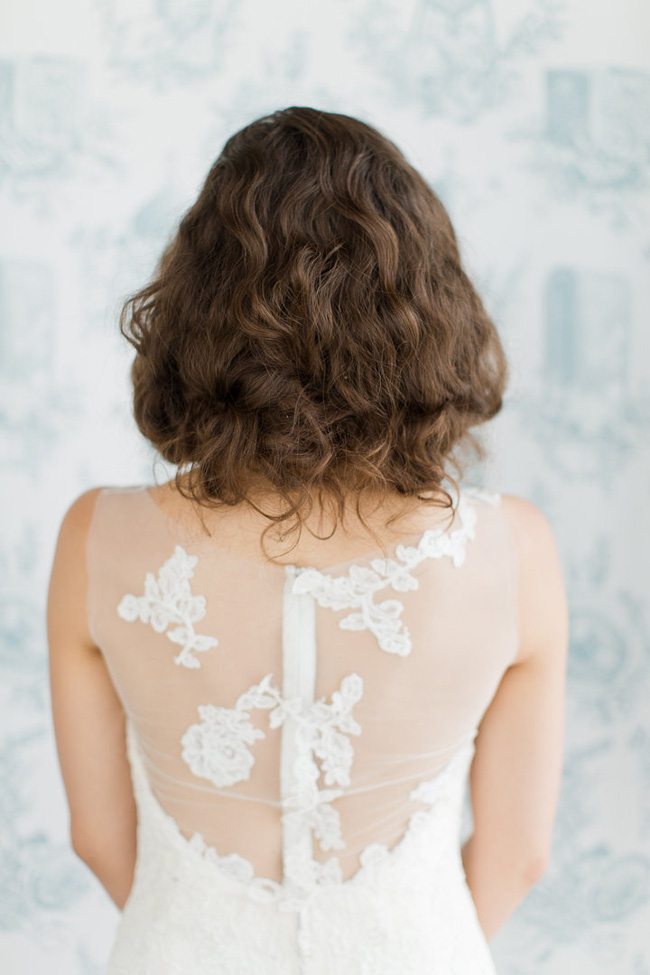
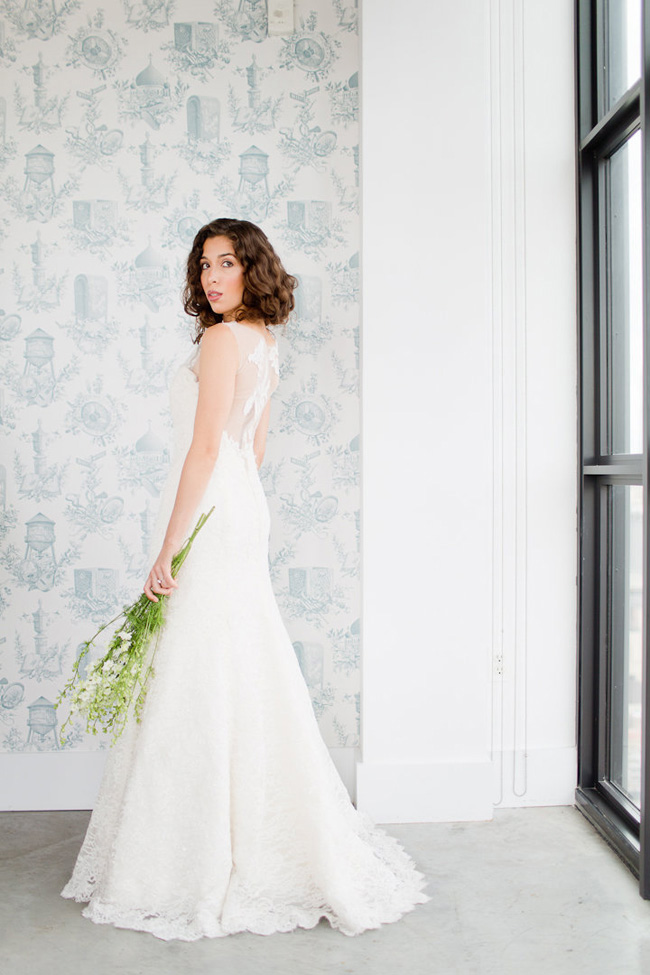
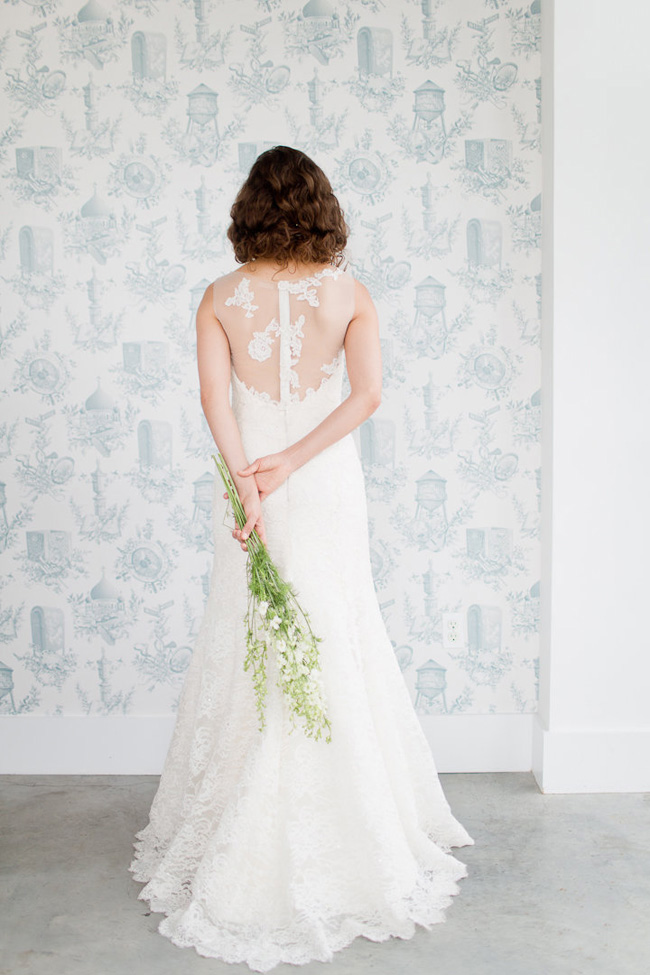
You’ve got gorgeous long lush hair but wearing it all down isn’t in the cards. Whipping it up into a full on updo isn’t really your thing either, so where do you go from there? A haircut is out of the question as your not looking for that kind of permanent decision, so now what? Ladies I present to you one of my ultimate favorite answers to the age old question, what do I do with my hair… the Faux Bob!
Simply put a faux bob hairstyle is a spot of gorgeous hair trickery employed by the best of them to give the illusion of a shorter do, without reaching for the scissors. No matter the thickness & length to your hair, there is always an answer and a way. A Faux bob is a super fun option for wedding hair, both for brides and bridesmaids, yes wedding guests too! With Eden’s tutorial in hand, just about anyone can whip their locks into a shorter do! A lovely bonus to a style like this is brides that are craving a 2 look wedding can easily slip from ceremony do to to reception style with the removal of some pins! There is a playfulness to a faux bob hairstyle, allowing every woman to be their own chameleon!
*Check out our Braided Faux Hawk Tutorial Here!
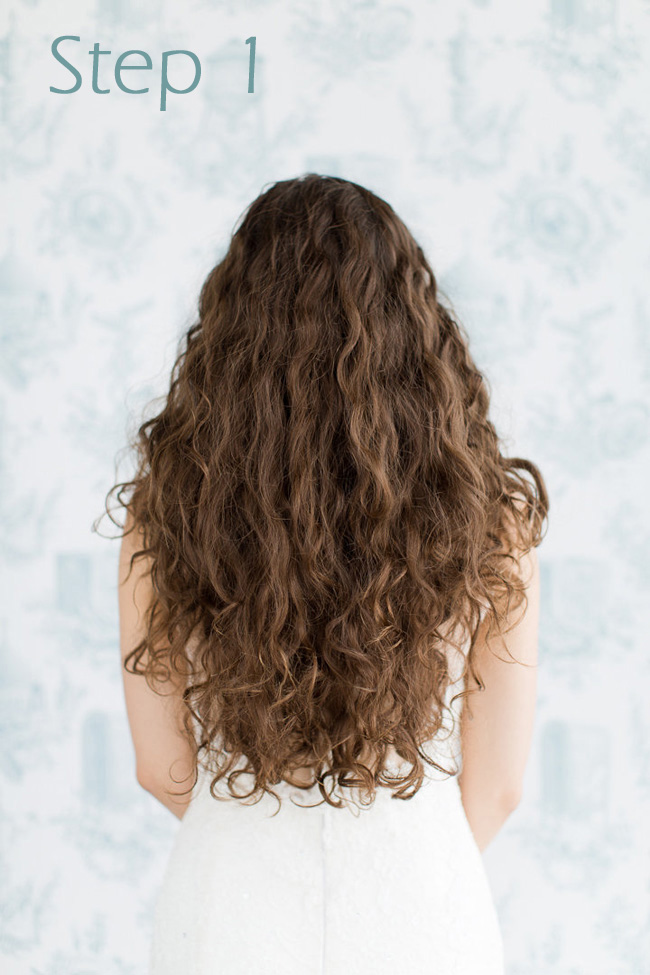
Step 1. Start with textured locks of any length. Waves and curls are more forgiving than straight hair when working with illusions of this nature. {Refer to Eden’s Prep for Straight Hair here}
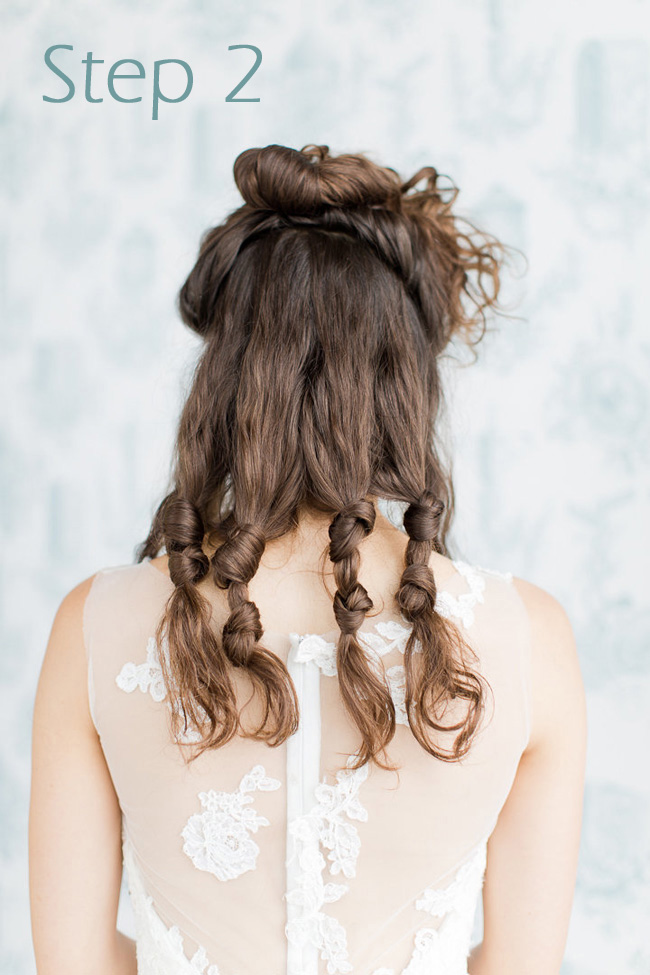
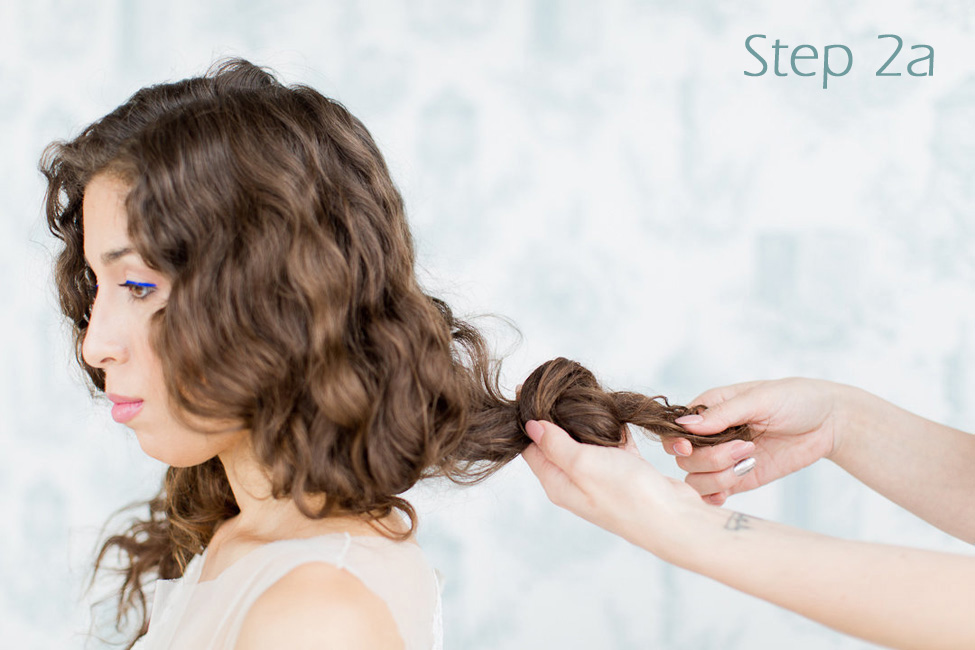
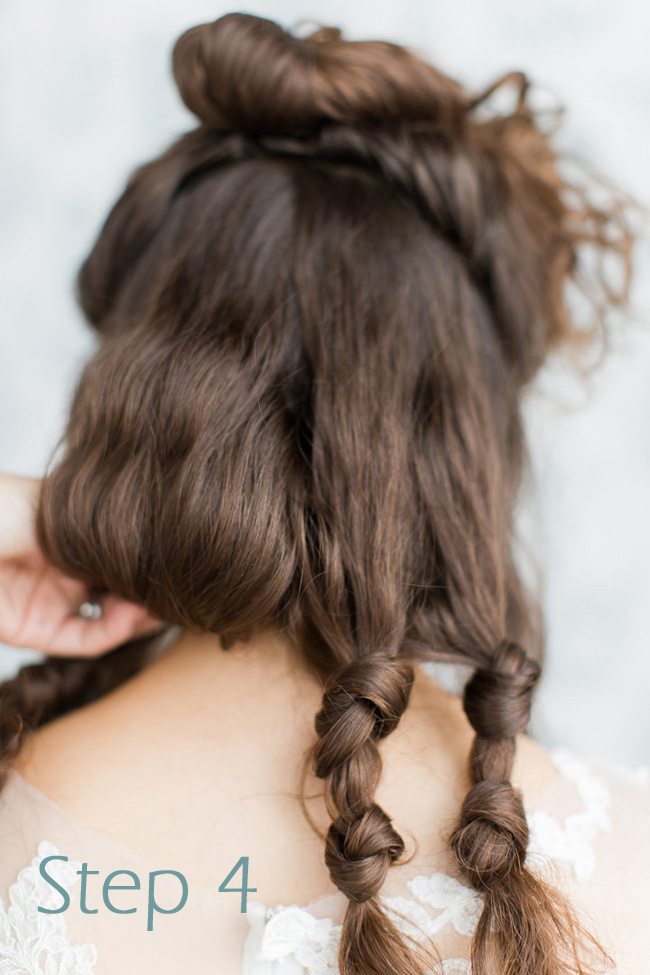
Step 2. To manage the length and create the volume that makes the body of this faux bob believable, part off just the back section of hair from ear to ear, pinning the top and sides of hair out of the way. Separate the back into 4 rough sections and tie knots into the hair to take up the length.
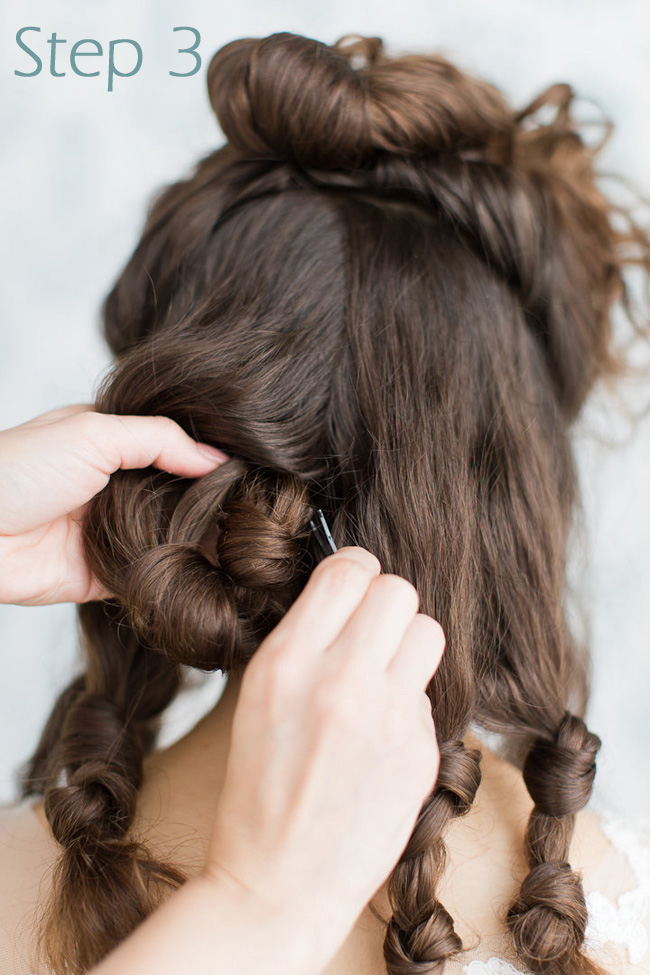
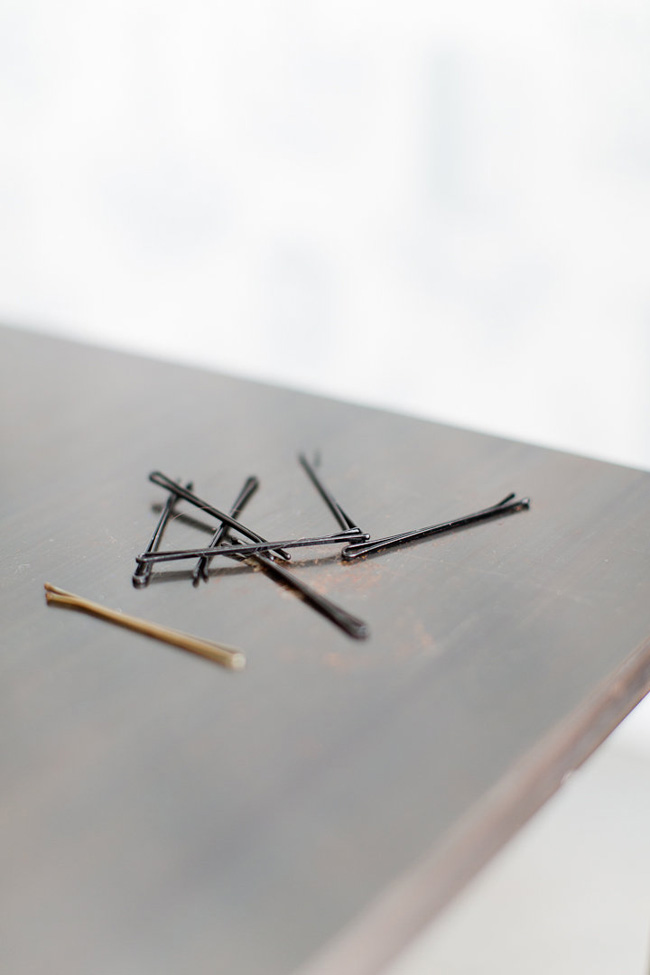
Step 3. Once you have knotted the sections, grab each section and roll it under and onto itself. Using the knots for anchors, criss cross large bobby pins to secure the sections to the head.
Step 4. The knots give the section weight and help it fall with gravity, maintaining volume and creating the shape. Repeat with all 4 sections.
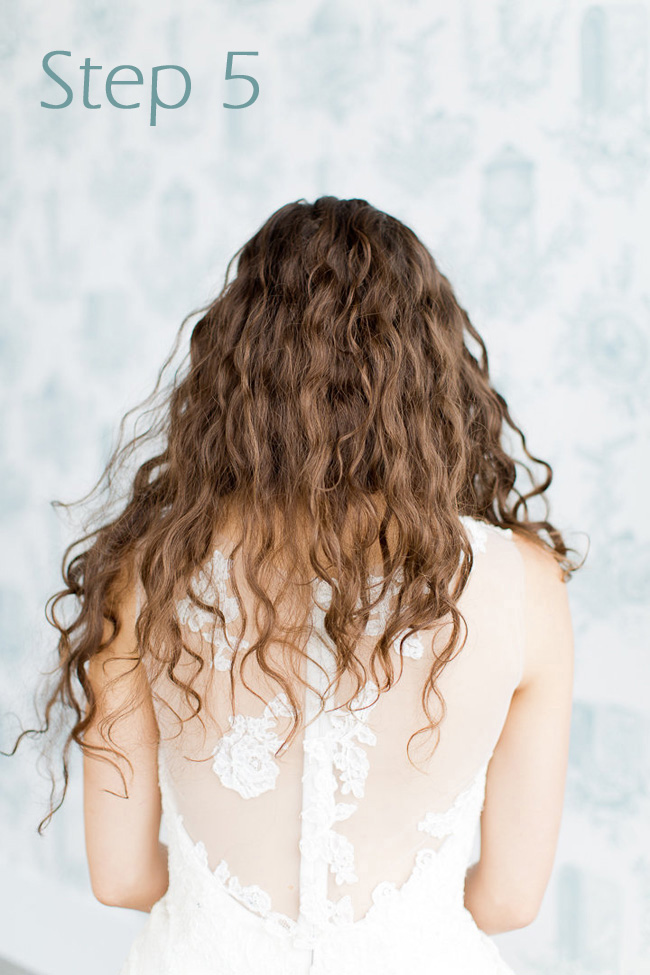
Step 5. With your base firmly in place, let the top and side sections down. Doing the top and side sections separately from the base is important because these sections will be used to create the finesse touches to the faux bob hairstyle.
Step 6a. Because our model Michelle has ultra long hair, I took the entire top portion creating one loose knot to take up some of the length, leaving the ends loose.
Step 6b. Pin the knot to the base you created underneath, then fluffing the little loose ends strategically to create the look and feel of a layered bob.
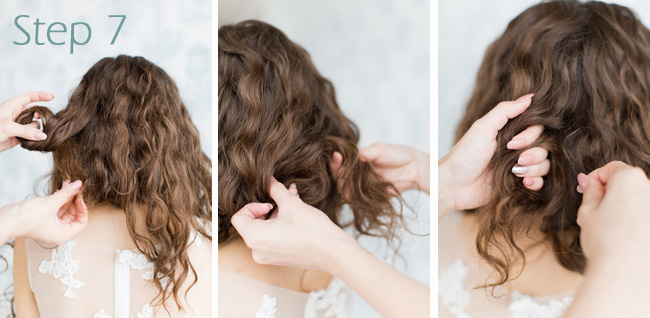
Step 7. Begin pinning the top and side sections under and onto themselves softly and fluff loose ends. You’ll need a bit of creative license here to sculpt the look that your after.
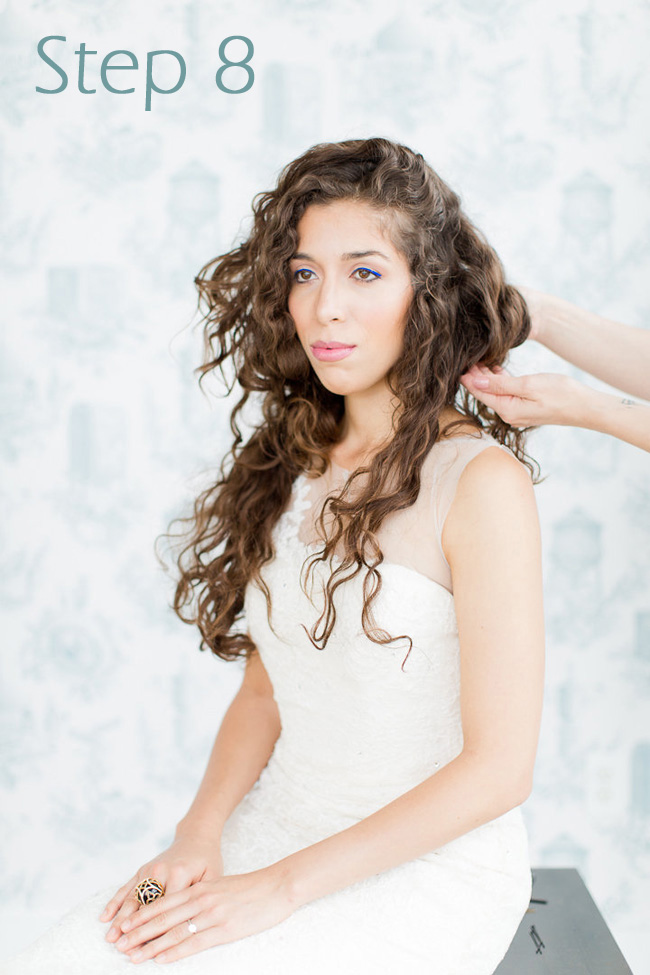
Step 8. Leave the front sections for last.
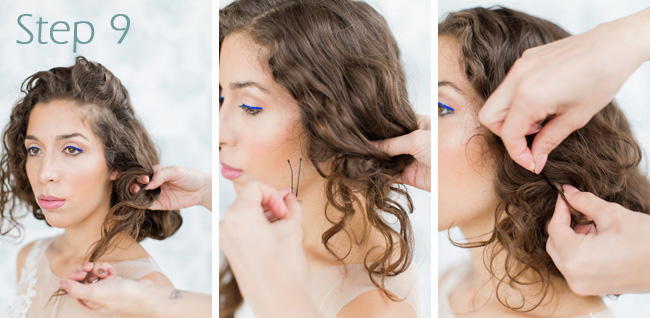
Step 9a. Gather the mid shaft and ends of the front sections loosely and wind the mid shaft into a loop. Next, with the ends hanging loose, pin.
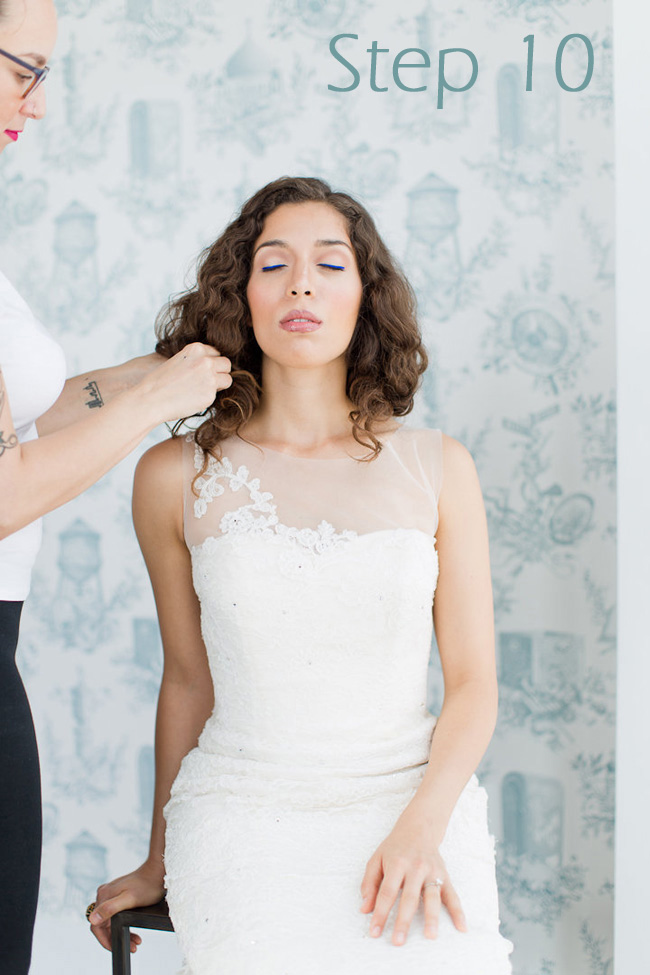
Step 10. Fluff and pull out little pieces of hair as needed to create texture and movement which are so important when crafting a believable faux bob et voilà!
Vendor Love
Photographer: Melissa Kruse Photography | Hair + Makeup: Eden Di Bianco | Wedding Dress: Sareh Nouri | Creative + Styling: Storyboard Wedding | Venue: Wythe Hotel

